|
|
|
|
|
|
|
|
|
Cranston Fine Arts  Military Art and Artists Medieval History Military Art and Artists Medieval History  Medieval Postcards Medieval Postcards |
[UP] - Vikings - Battle of Hastings - Richard the Lionheart - Battle of Bouvines - William Wallace - Robert the Bruce - The Black Prince - Battle of Crecy - Battle of Poitiers - Owain Glyndwr - Battle of Agincourt - Joan of Arc - War of the Roses - Battle of Flodden - The Tudors - Mary, Queen of Scots - Samurai - Legend of King Arthur - Medieval Postcards - Medieval History Print List |
| Navigation | |
| Page 1 of 6 | Page 1 .. Next |
|
|
|
|
|
|
|
|
|
|
|
|
|
|
|
|
|
|
|
|
|
| Navigation | |
| Page 1 of 6 | Page 1 .. Next |
| Text for the above items : |
The Roman Signifer by Ivan Berryman (PC) The Signifer was a standard bearer of the Roman legions. He carried a signum for a cohort or century. Each century had a signifer so there were 59 to 60 in a legion. Within each cohort, the first centurys signifer would be the senior one. |
The Last Stand by Ivan Berryman. (PC) The Romans used war elephants mainly after encountering them in battles against Pyrrhus of Epirus and Carthage. Initially, they struggled but adapted their tactics over time. Elephants were used in various campaigns, notably in Greece and during the Punie Wars. By the time of Emperor Claudius, their use declined serving more for psychological impact and ceremonial purposes. The last significant use of war elephants by the Romans was at the Battle of Thapsus in 46 BC. |
The Battle of Stirling Bridge by Brian Palmer. (PC) After Edward 1st proclaimed himself King of Scotland Sir William Wallace rallied Scots in the South West and began attacking English occupying forces around Scotland. Edward I ordered the Earl of Surrey to put down the rebellion, after taking the surrender of rebel forces at Irvine the Earl of Surrey marched against William Wallaces forces at Stirling. He ordered his army to cross the narrow bridge over the Forth River near the Abbey of Cambuskenneth on September 11th. From a vantage point overlooking the bridge William Wallace watched and waited until the English army of 5,000 had crossed Stirling bridge and with the bridge being crowded with troops he launched his attack with his entire force wiping out the entire bridgehead. The rest of the English army fell back but William Wallace pursued. After this defeat English forces were evacuated south as far as the River Tweed. |
The Battle of Kadesh - circa 127 BC by Brian Palmer (PC) In 1275 BC there were two superpowers in the ancient near east, in the south the Egyptians and in the north the Hittites from Anatolia in modern day central Turkey. A clash between these two powers was inevitable. The Egyptian Pharaoh Rameses II marched an army north into Syria to confront the Hittites and their allies under King Muwatallis. Reaching Kadesh Rameses camped under the walls of the city with his leading division, Amun, and awaited the arrival of the rest of his army. Poor intelligence had led Rameses to believe the Hittites were far to the north, in fact they were only 2 - 3 miles away. Muwatallis delivered a surprise attack against Rameses camp but the Egyptians managed to hold on until re-enforcements arrived. Despite retreating from the field after a day long battle it was Rameses who claimed a victory. The two armies never clashed again and eventually a peace treaty was signed between the Egyptians and the Hittites. |
Testudo Formation by Chris Collingwood. (PC) The testudo was used to protect Roman soldiers from all sorts of missiles. |
A Viking Raid by Brian Palmer. (PC) No text for this item |
The Wrath by Ivan Berryman. (PC) Spartan warriors were known for their long hair and red cloaks. Their constant military drilling and discipline honed their skills in the ancient Greek style of combat, particularly in the phalanx formation. |
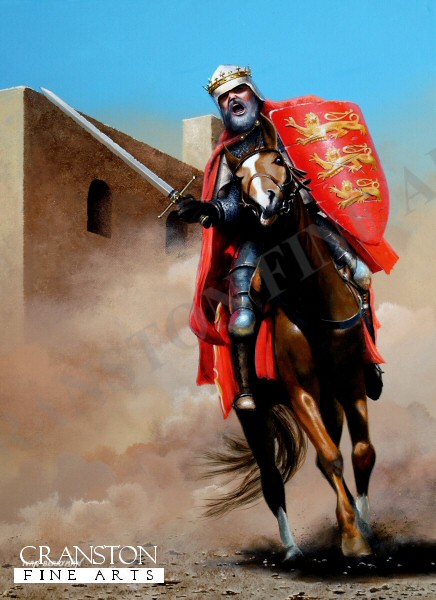
Richard the Lionheart by Ivan Berryman (PC) Richard the Lionhearts tactical skills and military training played a substantial role in the capture of Acre in 1191 by the Crusaders. Richard the Lionheart was up against a great leader in Saladin and the crusades did not always go his way. After he negotiated the Treaty of Jaffa with Saladin and secured the granting of special rights of travel around Palestine and in Jerusalem for Christian pilgrims, Richard the Lionheart started his journey back to England in 1192. He was shipwrecked, and captured by the German Emperor Henry VI, only being released after a 150,000 mark ransom was paid, this was raised by taxes in England. |
Silentium by Ivan Berryman. (PC) No text for this item |
King Richard by Henry Cruse Murphy (PC) Renowned for his bravery and chivalric skills, King Richard led his crusades forces to several victories against Muslim armies including the siege and subsequent capturing of the city of Acre and his decisive victory against Saladin at the Battle of Arsuf. His life and legend have been romanticized in literature and popular culture, often depicting him as the epitome of the medieval warrior king. |
Spartan Moon by Ivan Berryman. (PC) Training from a young age in rigorous conditions, Spartans emphasized endurance, cohesion, and strict martial discipline. Their fighting style relied on unity and collective strength, seen most prominently in the phalanx formation; tightly packed rows of soldiers with overlapping shields and long spears, creating a formidable wall of defence and offence. |
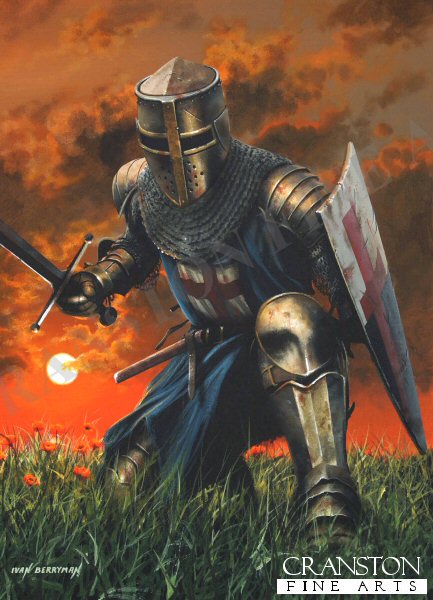
Wouldst Though Challenge Me? by Ivan Berryman. (PC) A knight fought with measured precision, the shield always close, turning aside blows and driving the enemy off balance. The sword worked in tight, efficient motions-quick cuts and thrusts aimed at the gaps in armour. Every move was a rhythm of defence and attack, shield creating the opening, sword striking in the moment that followed. |
Forming the Shield Wall by Chris Collingwood. (PC) Roman infantry form a defensive formation with shields and spears. |
Alexander the Great by Ivan Berryman (PC) When Alexander led his combined Macedonian and Greek army across the Dardanelles and into Asia he began the greatest career of military conquest in world history. In eleven short years he overcame the might of the Persian Empire and campaigned across the face of most of the known world |
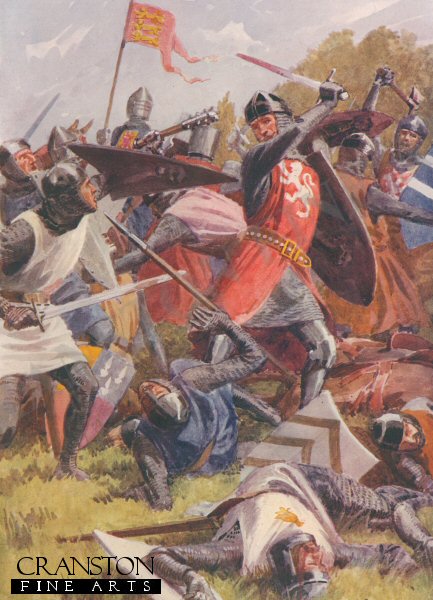
The Battle of Evesham, August 4th 1265 by William Barnes Wollen. (PC) No text for this item |
AD61 by Chris Collingwood. (PC) Cavalry and Legionaries (plus Auxiliary Hamian Archer) of the XIVth Legion. |
Primus Pilus by Chris Collingwood. (PC) In his 50s with 30 years experience, who has now attained High Centurian rank and commands the entire 1st Cohort. |
The Morning Watch, Hastings, 1066 by Ivan Berryman. (PC) A Saxon guard, keeping watch on the morning of the battle of Hastings. The fighting would begin at 9am and conclude at dusk with a Norman victory against the overwhelmed Saxons, the death of King Harold being the final nail in the coffin that led to retreat. |
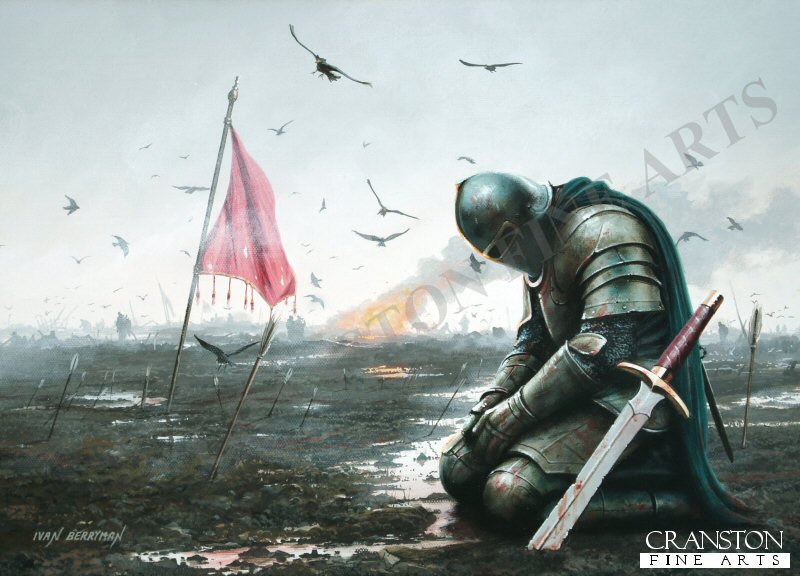
The Day is Done - A Lone Knight by Ivan Berryman (PC) No text for this item |
The Power of the Sword by Ivan Berryman. (PC) A knight's one-handed sword was a study in balance-blade long enough for reach, yet light enough for quick recovery behind a shield. Its double edge tapered to a precise point, suited for both cutting through mail and thrusting into the joints of plate. The crossguard flared straight and simple, protecting the hand without burdening it, and the pommel served to counterbalance the blade's weight. |
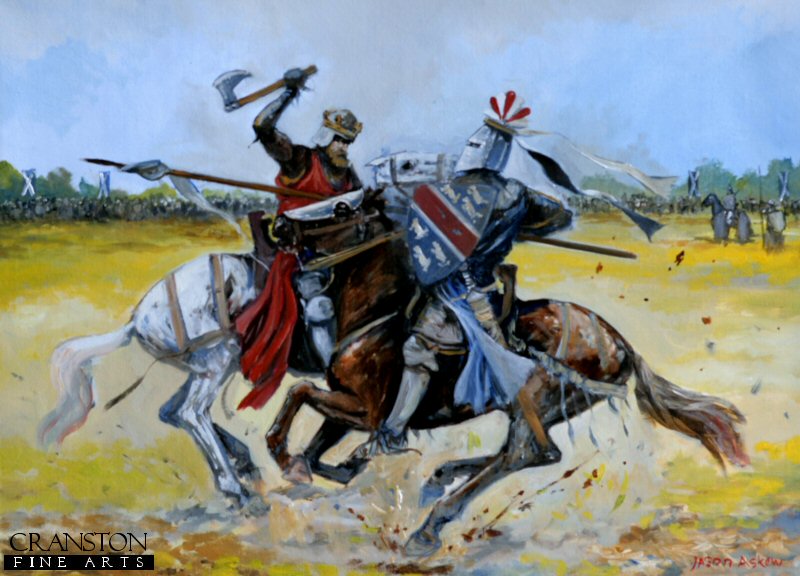
Robert the Bruce by Jason Askew. (PC) Far ahead of Edward II's main army, marching from Falkirk to relieve Stirling Castle, rides the English vanguard. Late on that day, 23rd June 1314, these horsemen advance along the Roman road and cross Bannockburn. Robert the Bruce, King of Scots, rides out ahead of his formations to observe the enemy's advance. One of the English Knights, Sir Henry De Bohun, seeing the King's vulnerable position, gallops ahead of his fellows to engage Bruce in single combat. Undaunted, the King holds his ground. Skillfully turning his mount away from the thrust of the Knights deadly lance in one movement he swings his battle axe down upon his enemy's head with such force that the handle is shattered and the unfortunate attackers skull is split in two. |
|
Contact Details |
Sign Up To Our Newsletter!
This website is owned by Cranston Fine Arts. Torwood House, Torwoodhill Road, Rhu, Helensburgh, Scotland, G848LE Contact: Tel: (+44) (0) 1436 820269. Email: cranstonorders -at- outlook.com
|